My “Best Tools For Bloggers” post is very popular and loved but since I wrote it I’ve made some changes and improvements so I figured it was time for an update.
Now let’s be clear: I don’t have a big blog and I don’t get that many views but I’m constantly growing and I love my blogging community – plus it counts for good karma right? – so don’t expect me to give you the key to success, but maybe I’ll be able to help you a bit, especially if you’re new to this world.
My monthly views in June were 1.404 (so low I know, I’m a bit embarrassed), in August they have been 9.462 and my goal for September is 10.000 – such a huge growth, right?
The main tools I use are still the same – so check out that post to have the full description! – and they are: Twitter, Bit.ly (to shorten links), Buffer (to schedule tweets), Photoshop (to create designs and modify images), Canva (to create designs), All The Free Stock (to download copyright free photos); and they’ve worked amazingly for me so I’d say those are the basic tools that every blogger needs, no matter what your niche is.
Now let’s get into some serious aspects that I’ve learnt in these almost-2 years of blogging; first the basis:
- Who cares if you don’t have a niche?! I don’t have one and I’m doing great. The important thing is that you write about what you love, you’re true to yourself and you put love, time and effort into your blog.
- You don’t have to wait for brands to contact you, especially if you have a small blog. Contact them, show interest in their products and pitch them an offer; the worst thing they can tell you is “no”.
The more you’ll grow the more opportunities will arise for you. - Be active. If you take part into Twitter chats you’ll get to know other bloggers and also new things.
If you comment on other blogs maybe they’ll return the favor and you’ll be able to establish friendships and collaborations.
Collaborating with other bloggers can be very useful: you’ll get more exposure, gaining access to the other blogger’s readership and you’ll create an unique post with them, it will also give your blog more credibility.
Now my top tips and tricks:
- Short posts are not bad but longer ones are better: the readers will get to know you better and will feel more involved (more than 1000 words is ideal, but around 700 is great too).
- Create ever green content. What does that mean? Content that will be still useful and interesting in a year from now, or even more. Those kind of articles bring constant views to your blog and they quite easy to create; I created “Best Tools For Bloggers” in March and people still read it every day.
- Ask open questions at the end of your posts and on your social media platforms, you’ll involve a lot of people and they will be more driven to leave you a comment.
- Write a shorter headline. It’s proven that people are more interested and driven to read posts that have a 5-words long title.
- Add your social media links to your email. In this way people might click on them and check your blog, Twitter and Facebook page.
- Use a lot of images and infographics. I prefer to take photos myself; in my early days I used to download them but I’ve understood now that it’s risky: there’s the copyright problem which you have to be really careful about, and you also risk other people using the same images for their post and this only means that your article will look kind of cheap and not very personal.
But if you have to download pictures other that All The Free Stock there is also Pexels. - Embed a tweet of your post at the end of that same post. In this way people will see it when they finish reading it and they might share it.
- Use various platforms to share your content. Twitter is great because there are specific accounts that will retweet you (@BloggerBees, RT_Bloggers, @BBlogRT, @LovingBlogs are only a few); Facebook is very useful thanks to its blogging groups where you can share your content and take part to comment threads; Pinterest is your best friend because you can join pinning group boards and share your blog posts through images.
- Interlink between your posts so people will check out the other relevant and connected posts as well.
Those are my main pieces of advice for you and now I’d like to share with you more practical things such as creating a Pinterest image, a press kit and modify your own photographs.
Canva is such an amazing tool. You can do so many things with it and in particular two of the above: Pinterest graphics and a press kit that will make everyone jealous.


There is a preset layout for Pinterest images which has the perfect size and that you can customize however you want.
You can use infinite designs and suit them to your post, there are both free ones and ones that you have to pay, although it’s a very small price.
You can also choose all the colors, fonts and little details; you can sign up for free and upload your own photos.
The quality it’s excellent and the result, as you can see, is great.
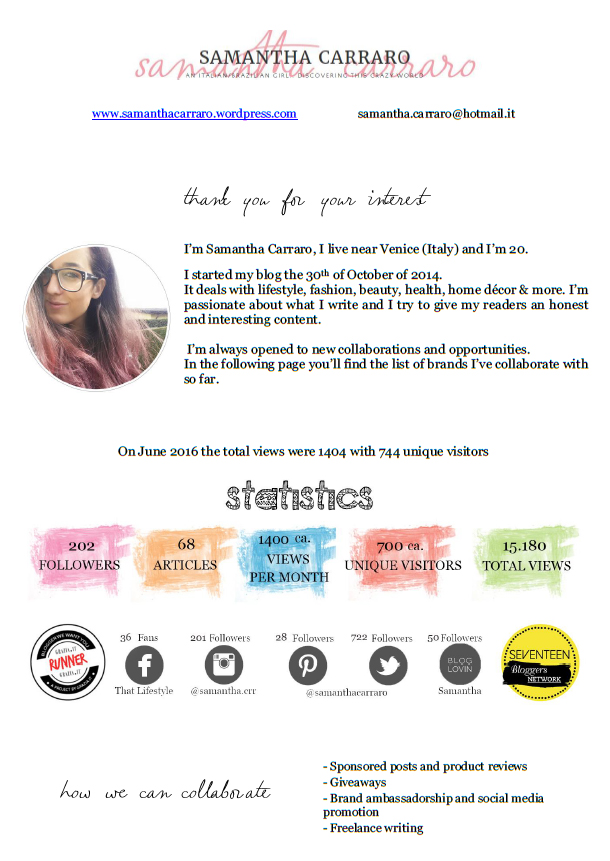
You can use the same website to create a press kit/media kit/sponsorship kit or however you want to call it.
I’ve had one for a long time and before I explain to you all the ways you can adopt to create one yourself I’d like to tell you why I think every blogger should have it:
- It looks professional and it makes you and your blog look professional as well.
- Brands will ask you for your statistics, social media links and some posts examples anyway so why don’t incorporate all the important information into one document? You will spare time and energy this way.
- It’s a good way to keep track of your progresses and set your goals. You’ll have to insert and update your statistics every month or so and in this way you can see exactly how much your blog has grown.
- It’s like your business card; it gives the first glimpse of your blog to whoever reads it, so it must reflect your blog theme and atmosphere.
Until May I had an old media kit that I created on Word and exported as a PDF – that’s the best form you can save it because not everyone has Word but everyone can read a PDF and they cannot modify it – but it didn’t look very good.
I was very proud of it anyway because I created all the designs and details myself but it didn’t really reflect my blog style.
You can see that the main infos that I included were: my email and blog url, a brief description of myself and my blog, a photo of mine, the statistics of my blog and social media platforms and the terms of my collaboration proposal.
I then did a brand new one with Canva and I got crazy in love with it.


This sponsorship proposal reflects way more the theme of my blog and it’s colorful, fun and youthful but yet professional and serious.
I chose an A4 layout and then added different details and paragraphs.
It’s really pink, I know, and it’s not my personal every day style but it suits really well my blog and its content and that’s the important thing.
You can create whatever style and design you want to reflect perfectly your blog and give an amazing first impression.
I saved it a PDF and I was very happy to notice that the quality and resolution did not decrease and that the various clickable parts of the kit remained so.
It’s a huge upgrade, right?
And since me and my blog are both always growing and changing I will probably create a new one in a while but that’s the fun of it, right?
For my photographs I use both Photoshop and the default Windows program to modify images.
I increase the brightness, contrast and sharpness of all my photos; I then increase the saturation and temperature as well.
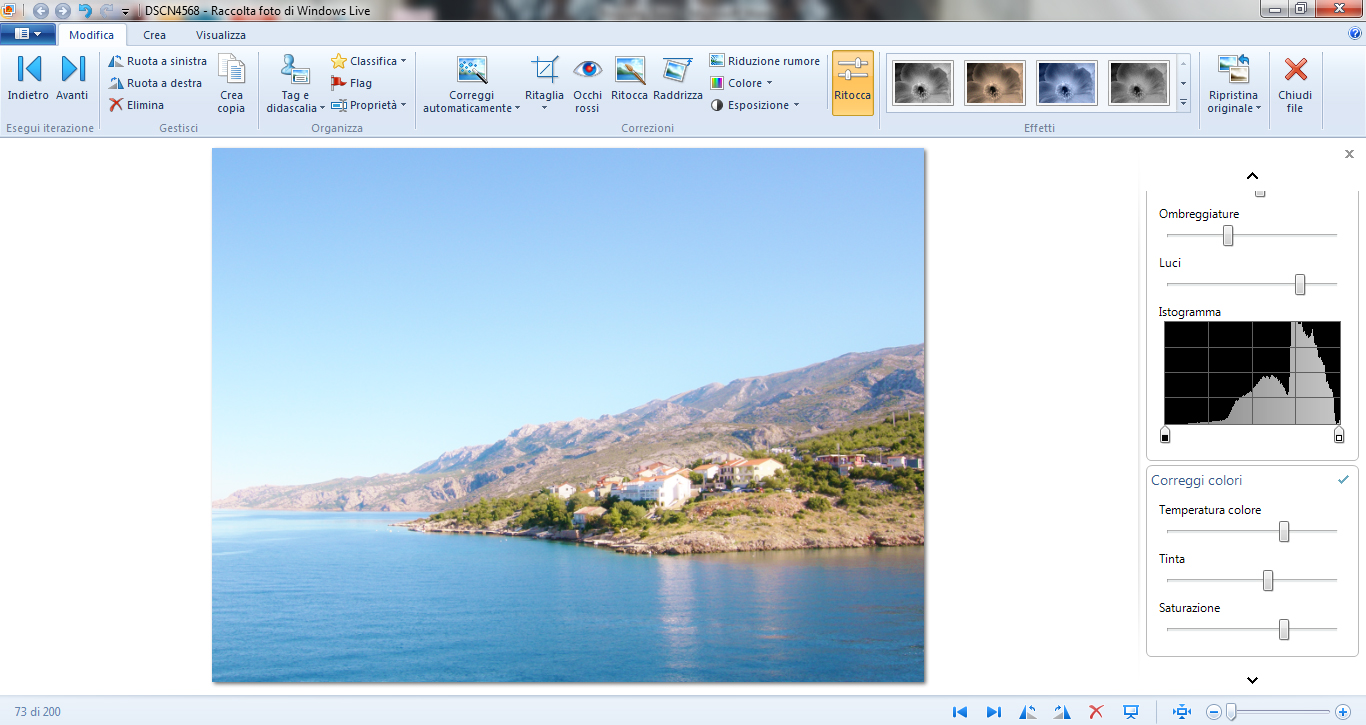
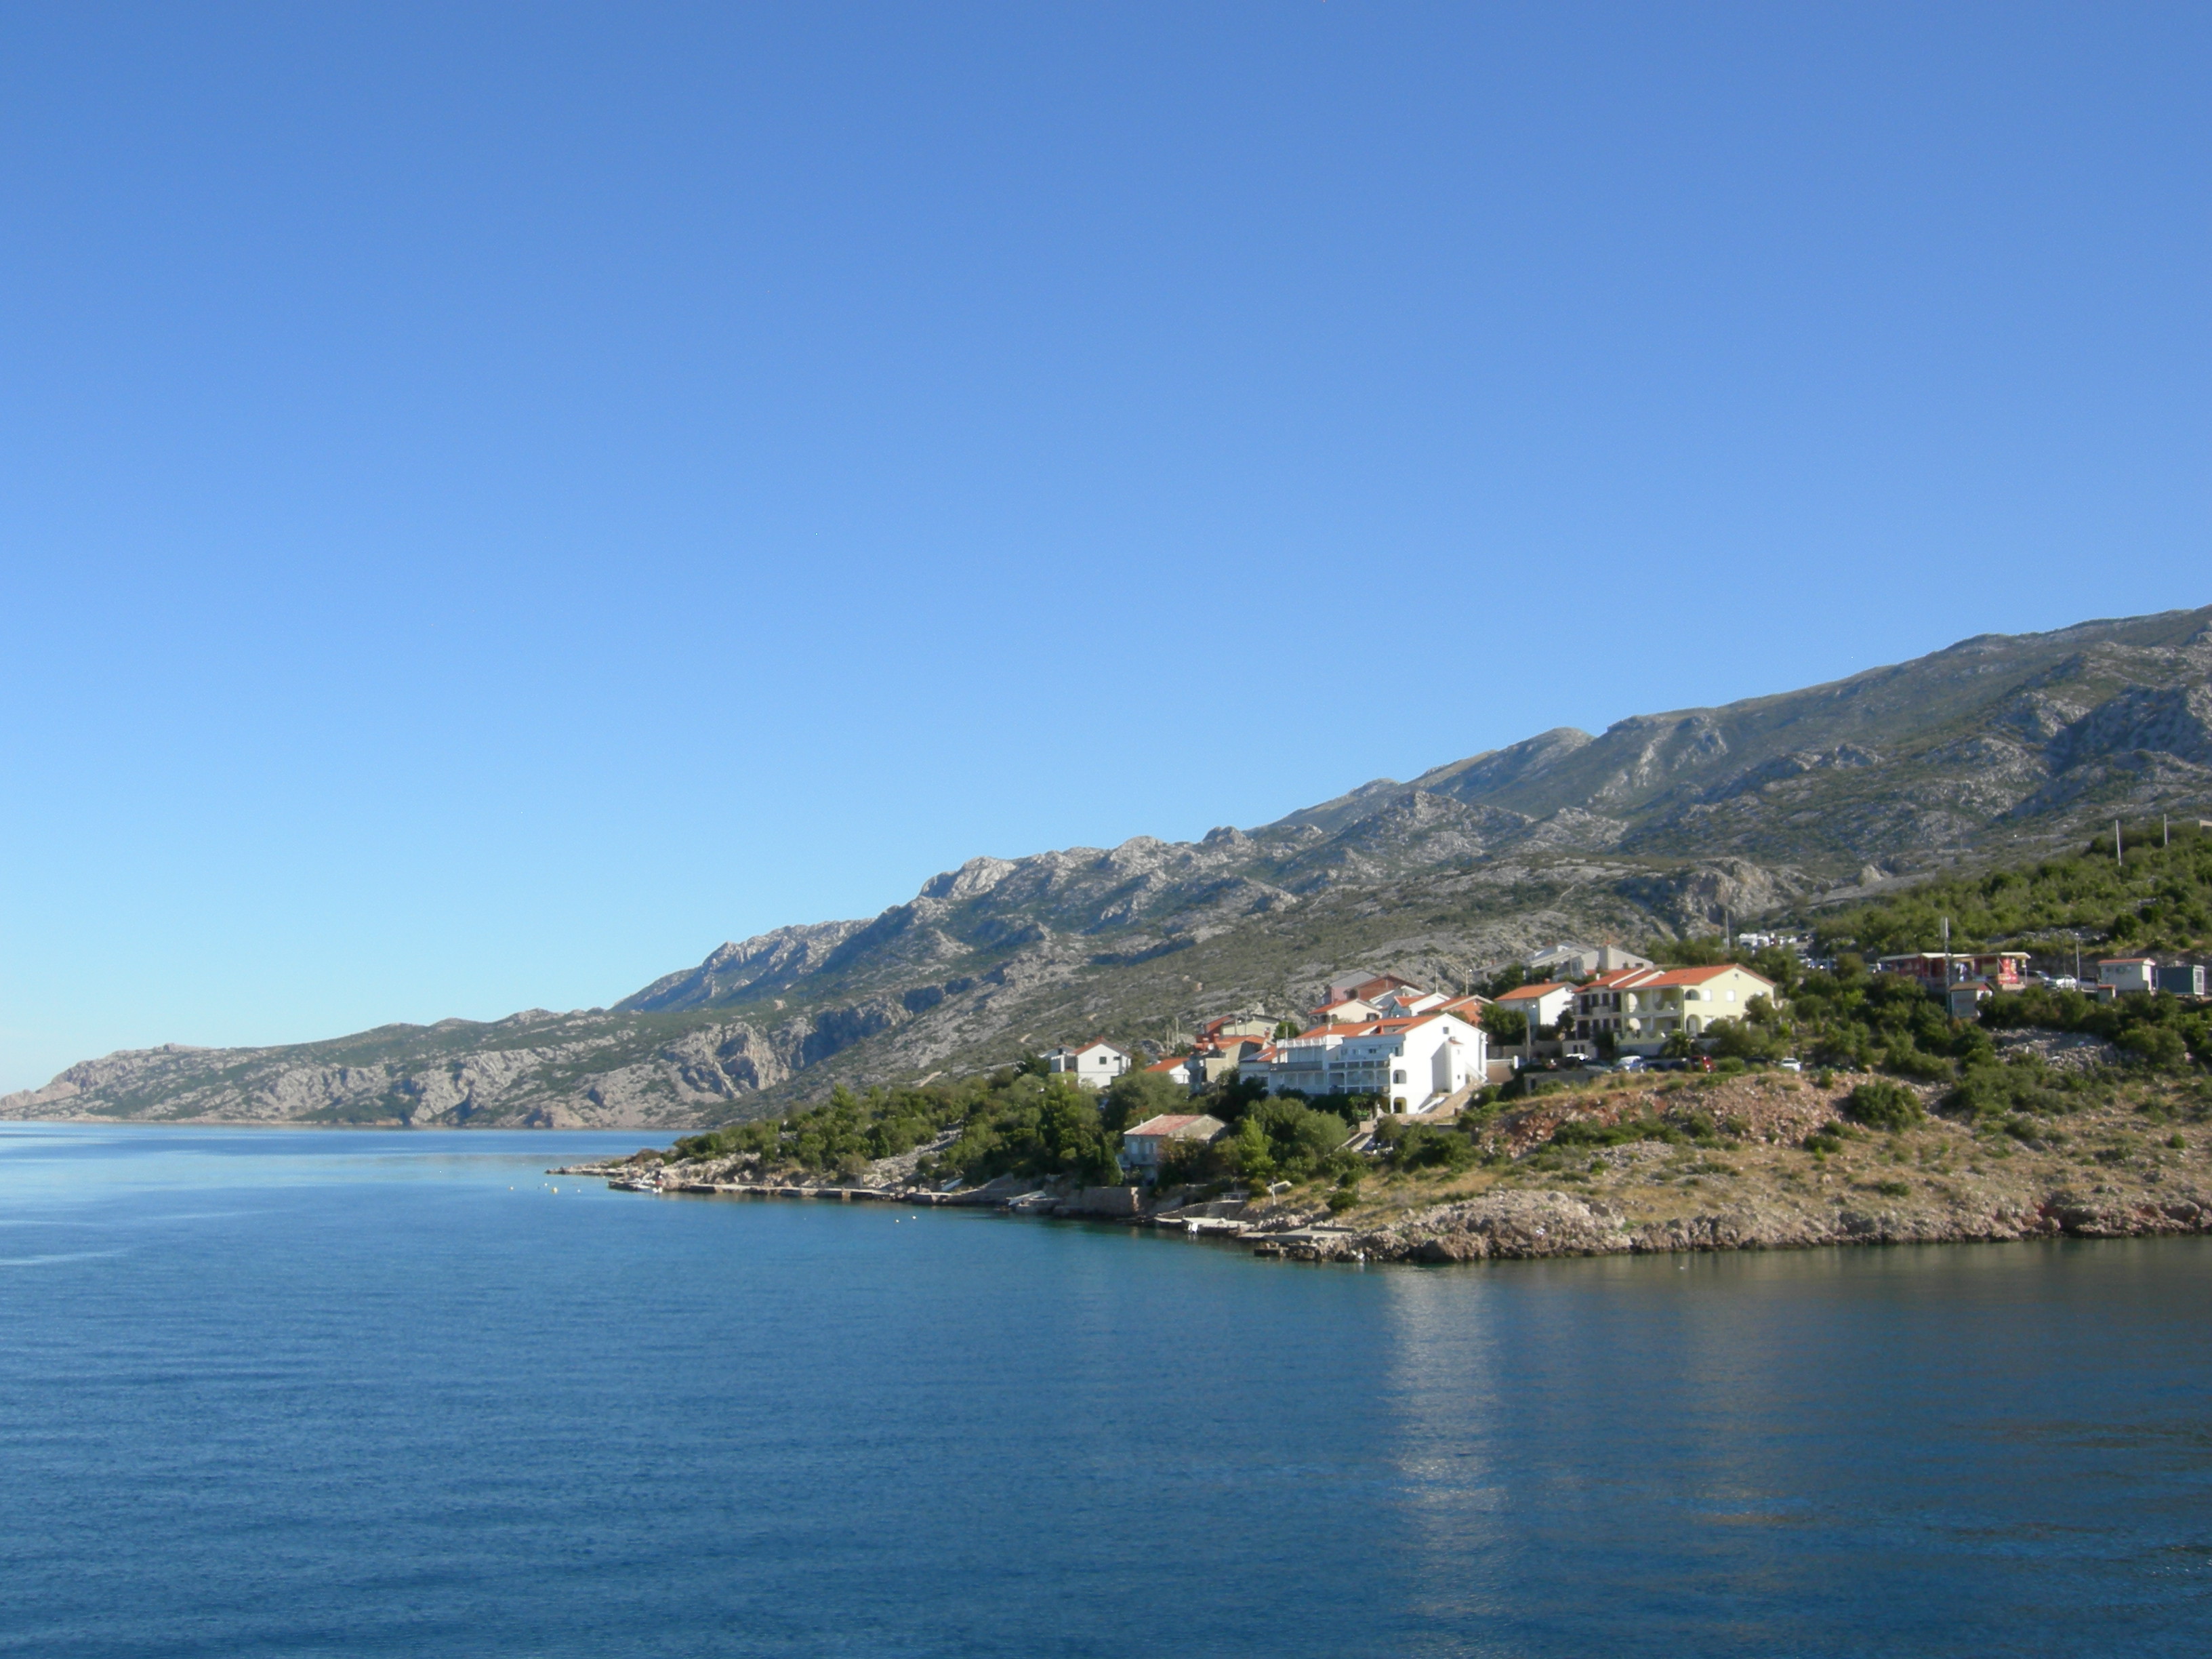

Here are the before and after of the same photo from my vacation in Croatia after changing it.
Which one would you put into one of your posts?
I use Photoshop if I have to insert words into my images or create designs such as headers, logos and sidebar widgets.
Using Photoshop is way easier than it looks or sounds but if you’re not familiar with it and you don’t want to risk wasting 2 hours for a crappy result, just use PicMonkey, it’s very simple and useful and you can get a very similar outcome.
This post was sooo long but I hope I was able to help some of you and give you some inspiration to grow with your blog.
Tell me in the comments if you have other pieces of advice and which point you found the most helpful!
If you want a step-by-step tutorial to one of the subjects above tell me in the comments and I’ll be happy to create a post and guide you through it!

Fab tips for a newbie like me! Thank you Samantha! x
LikeLike
I don’t know how I haven’t seen this before. This is amazing post! I don’t have much to say about it, I love it. Definitely deserves a share!
xo Honey – blog Royal Lifestyle – Twitter – Instagram
LikeLike
This is sooo awesome! Congrats on the growth and success so far! Can’t wait to see how much more this blog will grow!
LikeLike
What an amazing post! Thanks for sharing your tips 🙂 been trying to up my blogging game lately!
LikeLike
Thank you! For sharing your tips with others. This couldn’t had come in a better time.
LikeLike
Ah it feels like this is ALL i’ve been looking for today!! Thank you:)
X finja / http://www.effcaa.com
LikeLike
You’re welcome! 🙂 Hope I could help you!
LikeLiked by 1 person
Sounds like I need to give Pinterest more of a try. I haven’t been able to see how it helps the blog, but you speak so highly of it I guess I need to give it more of a shot. Hope I can get it to work for me!
LikeLiked by 1 person
I think it’s one of the best tools for bloggers and if you master it, it will do wonders
LikeLike
Great post with amazing tips! I definitely learnt something new especially the tip on Canva 😊
Ramblingsofmissmimi.wordpress.com
LikeLiked by 1 person
I have had zero success using Pinterest for promoting. I keep trying people’s tips but so far it has fallen flat despite so many other bloggers telling me how much traffic they get from theirs. I’ve started using photoshop to further personalize my images and have joined several pinning groups. Any other tips up your sleeve?
❤ literaryweaponry.com
LikeLiked by 1 person
Hey! Thank you for reading and commenting, do you pin your images in these groups? You should use a auto pinning tool and pin your images multiple times throughout the day and link the images to your blog posts and use hashtags and consistent descriptions too 🙂
LikeLike
thanks for the tips ! pinterest is really a great tool and i am just starting to explore in it !
LikeLiked by 1 person
Looks like Pinterest is recommend by everyone. I am not sure. I am already busy with Instagram, Tweeter and Facebook. Maybe I should look into it on day off. Do you think Pinterest is great for new blogger?
LikeLiked by 1 person
Pinterest is the greatest tool in my opinion, you could invest in an auto pinning tool so you won’t have to spend too much time on it but you should totally try it!
LikeLiked by 1 person
Thanks for the advice! I should look in the tools you suggest to modify my pictures too 😀😀😀
LikeLiked by 1 person
Let me know if they work 😊
LikeLiked by 1 person
I found your blog through GRLPOWR Bloggers on Twitter and I’m so thankful! I loved this post, so very helpful since I am still very new. I’m a new follower and look forward to more of your posts. I’m over at JustRereHere.Wordpress.com
LikeLiked by 1 person
Thanks so much for this post, every tip has been really helpful. I’m just getting into blogging really and building it up so I needed all the advice I could get. The section on the press kit was particularly helpful, that’s definitely something I’ll be working on very soon!
LikeLiked by 1 person
Thank you! I’m glad I could help you, of you have any questions feel free to ask me 🙂
LikeLike
Amazing post.so informative and useful.thank you for sharing I got to know a bunch of things I didn’t know about xo
Todaysouhaila.blogspot.com
LikeLiked by 1 person
This is so helpful! I already use PicMonkey and Buffer but I’m going to start using Canva!
Serena / http://ramblingsofanotherunistudent.blogspot.co.uk
LikeLiked by 1 person
Great post. I liked both media kits but I can understand that the second one looks more professional and cleaner. I really like canva as well it’s especially good for images on Pinterest.
LikeLiked by 1 person
Thank you!
LikeLike
More than 1000 views a month, that’s great, you shouldn’t have been ashamed haha we only get around 300 a month… We also use Canva as well and it’s great! I really recommend it! x
LikeLiked by 1 person
Thank you! I’ll check out your blog too 🙂
LikeLike
How did I not know about bit.ly?? I always wondered how people shortened their links! Thanks 🙂
LikeLiked by 1 person
You’re welcome 🙂
LikeLike
This was really helpful for a newbie like me ! Thank you so much x Larice
https://hilarice.wordpress.com
LikeLiked by 1 person
Thank you for reading! 🙂
LikeLike
These is such a great post! I’m definitely going to get to work on putting together a media kit. I hadn’t even thought of making one before!
C x
http://www.2brunettes.co.uk
LikeLiked by 1 person
*this damn autocorrect 😒🙈
LikeLike
Thank you! 😊
LikeLiked by 1 person
Your media kit looks very professional after all design changes! I am sure you will be able to hit 10,000 viewers in no time! You can take part in my Travel Tag and win till 15.09.16! Best Wishes, Iga x http://igaberry.com
LikeLiked by 1 person
Thank you Iga! xx
LikeLike
Very nice & useful tips, Samantha!
SEO encourages longer titles (35-65 words), have you find a way to compromise to the shorter ones, without affecting SEO?
LikeLiked by 1 person
I don’t know of anybody who would use such a long title, it’s counterproductive in my opinion. To advertise your blog posts on social medias you need short titles because they make your article look more interesting and they’re catchy so people are more driven to click on them, a title of that length would count as a description of your post and I don’t think it would look good on the blog too
In my opinion for this once it’s better to prefer the marketing side of blogging and put the SEO aside, for me it’s a logic decision but maybe someone else looks at it differently.
Thank you for the question though, much appreciated!
LikeLike